Introduction
In today’s increasingly digital world, the ability to access a computer or a network remotely is essential for many businesses. Remote Desktop Services (RDS) on Windows Server 2019 provides a platform to deploy and manage virtual desktops and applications, allowing users to work from virtually anywhere. This blog will delve into the features, benefits, and setup process of RDS on Windows Server 2019.
What is Remote Desktop Services?
Remote Desktop Services is a server role in Windows Server that provides technologies enabling users to connect to a virtual desktop, RemoteApp programs, and session-based desktops. RDS facilitates centralized management of desktops and applications, improves data security, and enhances resource utilization.
Key Features of RDS on Windows Server 2019
-
Scalability and Performance:
- Enhanced support for large-scale deployments.
- Improved connection handling and load balancing.
- Better graphics performance with GPU virtualization support.
-
High Availability:
- High availability for the Remote Desktop Connection Broker.
- Active/active clustering support for increased uptime.
-
Security Enhancements:
- Support for modern authentication methods, including Azure AD integration.
- Improved security with RDP over HTTPS.
-
Ease of Management:
- Simplified deployment and configuration through the Server Manager and PowerShell.
- Centralized management with the Remote Desktop Services management console.
-
Integration with Azure:
- Hybrid cloud capabilities with Azure Virtual Desktop.
- Seamless integration with Azure Active Directory and other Azure services.
Benefits of Using RDS
-
Flexibility and Mobility:
- Users can access their desktops and applications from anywhere, on any device.
- Supports remote work and enhances productivity.
-
Cost Efficiency:
- Reduces the need for physical hardware.
- Lower maintenance and operational costs with centralized management.
-
Enhanced Security:
- Centralized control over data and applications.
- Improved data security through secure remote access protocols.
-
Resource Optimization:
- Better utilization of hardware resources.
- Efficient management of user sessions and workloads.
Setting Up Remote Desktop Services on Windows Server 2019
Step 1: Install the Remote Desktop Services Role
-
Open Server Manager:
- Click on “Manage” and select “Add Roles and Features”.
-
Select Installation Type:
- Choose “Role-based or feature-based installation”.
-
Select Destination Server:
- Choose the server on which you want to install the RDS role.
-
Select Server Roles:
- Check the “Remote Desktop Services” box.
-
Select Role Services:
- Choose the necessary role services, such as Remote Desktop Connection Broker, Remote Desktop Licensing, and Remote Desktop Session Host.
-
Install and Configure:
- Complete the installation and configure each role service as needed.
Step 2: Configure the RDS Environment
-
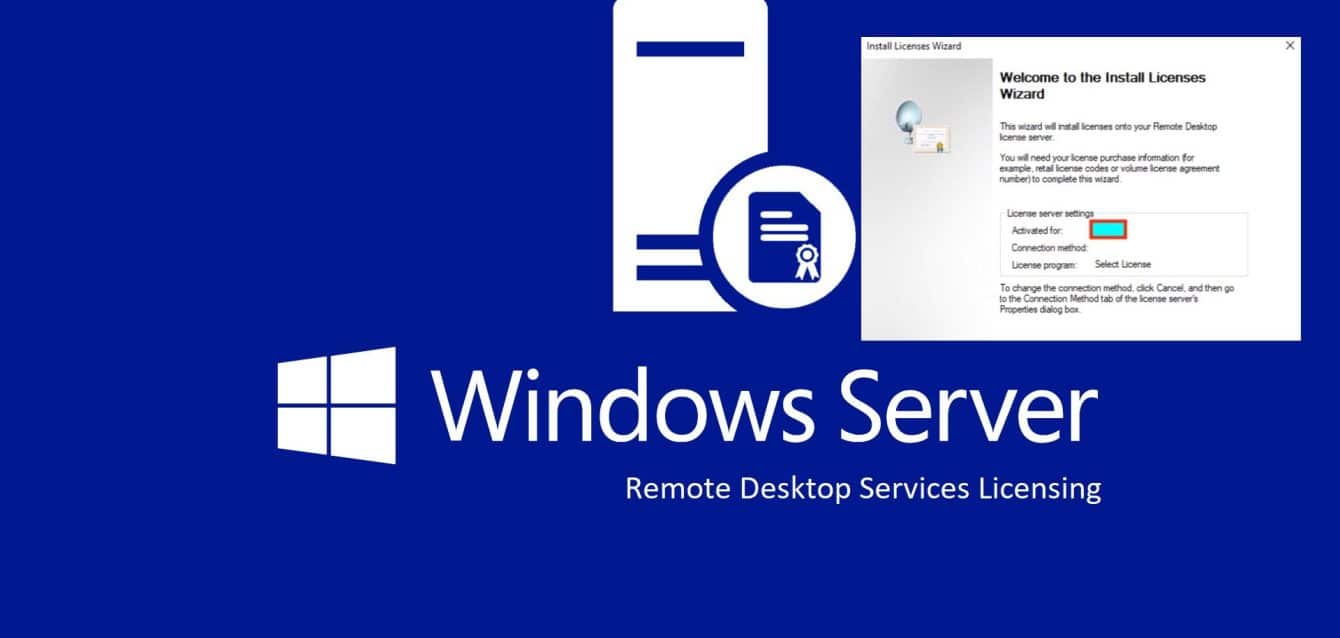
Remote Desktop Licensing:
- Install and activate the Remote Desktop Licensing role.
- Add RDS CALs (Client Access Licenses) to the license server.
-
Remote Desktop Connection Broker:
- Configure high availability if necessary.
- Ensure the Connection Broker is properly set up to manage user sessions.
-
Remote Desktop Session Host:
- Configure the Session Host servers to host user sessions.
- Set up user session limits, timeouts, and resource allocation policies.
-
RemoteApp Programs:
- Publish RemoteApp programs for user access.
- Create and configure collections for organizing RemoteApp programs.
Step 3: Test and Deploy
-
Testing:
- Conduct thorough testing to ensure all components are working correctly.
- Verify user connectivity and performance.
-
Deployment:
- Roll out the RDS environment to end-users.
- Provide necessary training and support for users.
Conclusion
Remote Desktop Services on Windows Server 2019 offers a robust solution for businesses looking to provide remote access to desktops and applications. With enhanced performance, security, and management features, RDS enables a flexible, cost-effective, and secure remote work environment. By following the setup and configuration steps outlined above, organizations can efficiently deploy and manage their RDS infrastructure, ensuring a seamless experience for remote users.
Additional Resources
By leveraging RDS on Windows Server 2019, businesses can unlock new productivity potentials, supporting their workforce with the tools and access they need to thrive in a modern, remote-first world.
